
What you need:
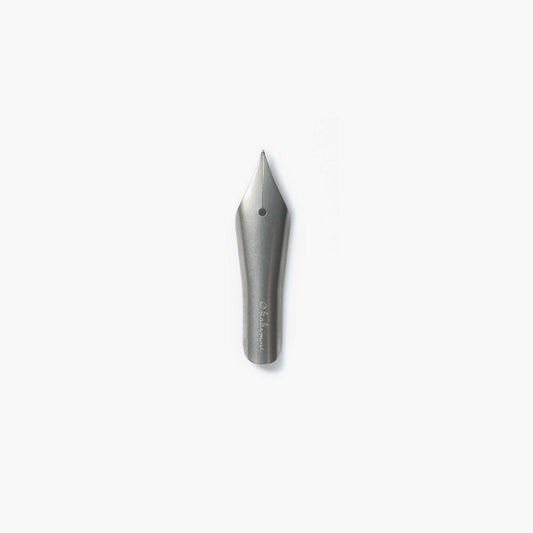
・Nib
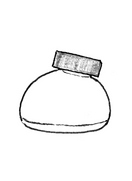
・Bottled ink
・Tissues or soft, clean cloth
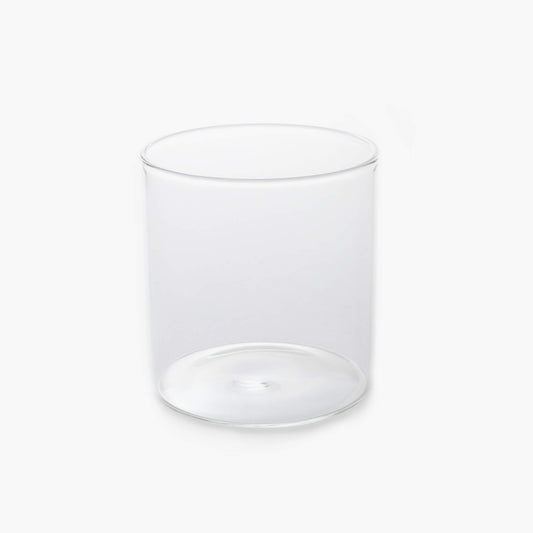
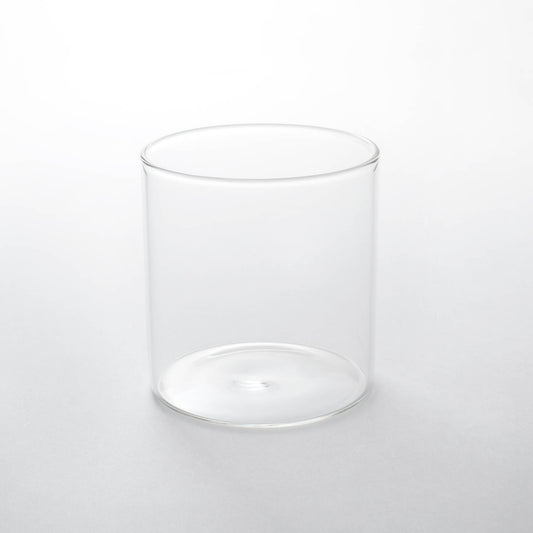
・Cup filled with water
・Pen rest
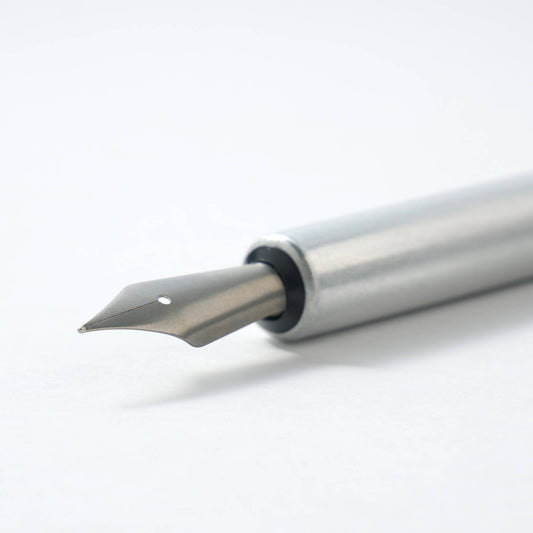
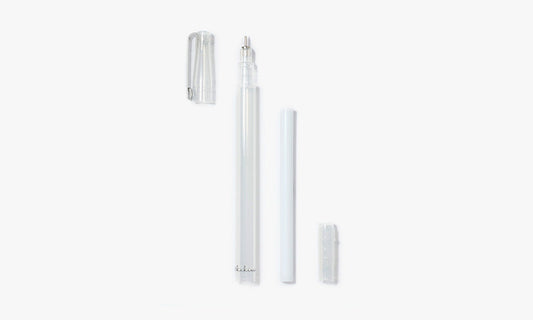
Step 1: Attach the nib
Insert the nib into the holder with a gentle twist until it is fully seated. For nib mounts with an opening in the metal rim, insert at the opening for smoother attachment and removal.
Handy tip
View our compatibility charts below:
・Metal nib
・Nib holder - all finishes

Step 2: Dip in ink
Dip the nib in ink to soak, taking care to avoid contact with the base of the ink bottle. To remove excess ink, lightly tap the lip of the bottle.

Step 3: Write
Hold the pen at a 45-degree angle and write gently without applying excess pressure. Each dip writes two to three sentences depending on the ink and paper used.

Use a pen rest when setting down your pen to keep it safely in place.

How to use the Metal nib
Hold the pen at a 45-degree angle. Tilt the nib below 45 degrees to adjust the line width, or lay it flat to paint.
Initial ink flow may be slow due to the protective coating on the nib and will gradually improve with repeat rinsing and ink application.
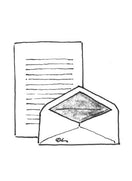
If ink becomes faint, turn the nib to release more ink from the grooves. One dip holds enough ink to fill a postcard.

Step 4: Rinse
Rinse the nib in a cup of water and dry with a soft, clean cloth.
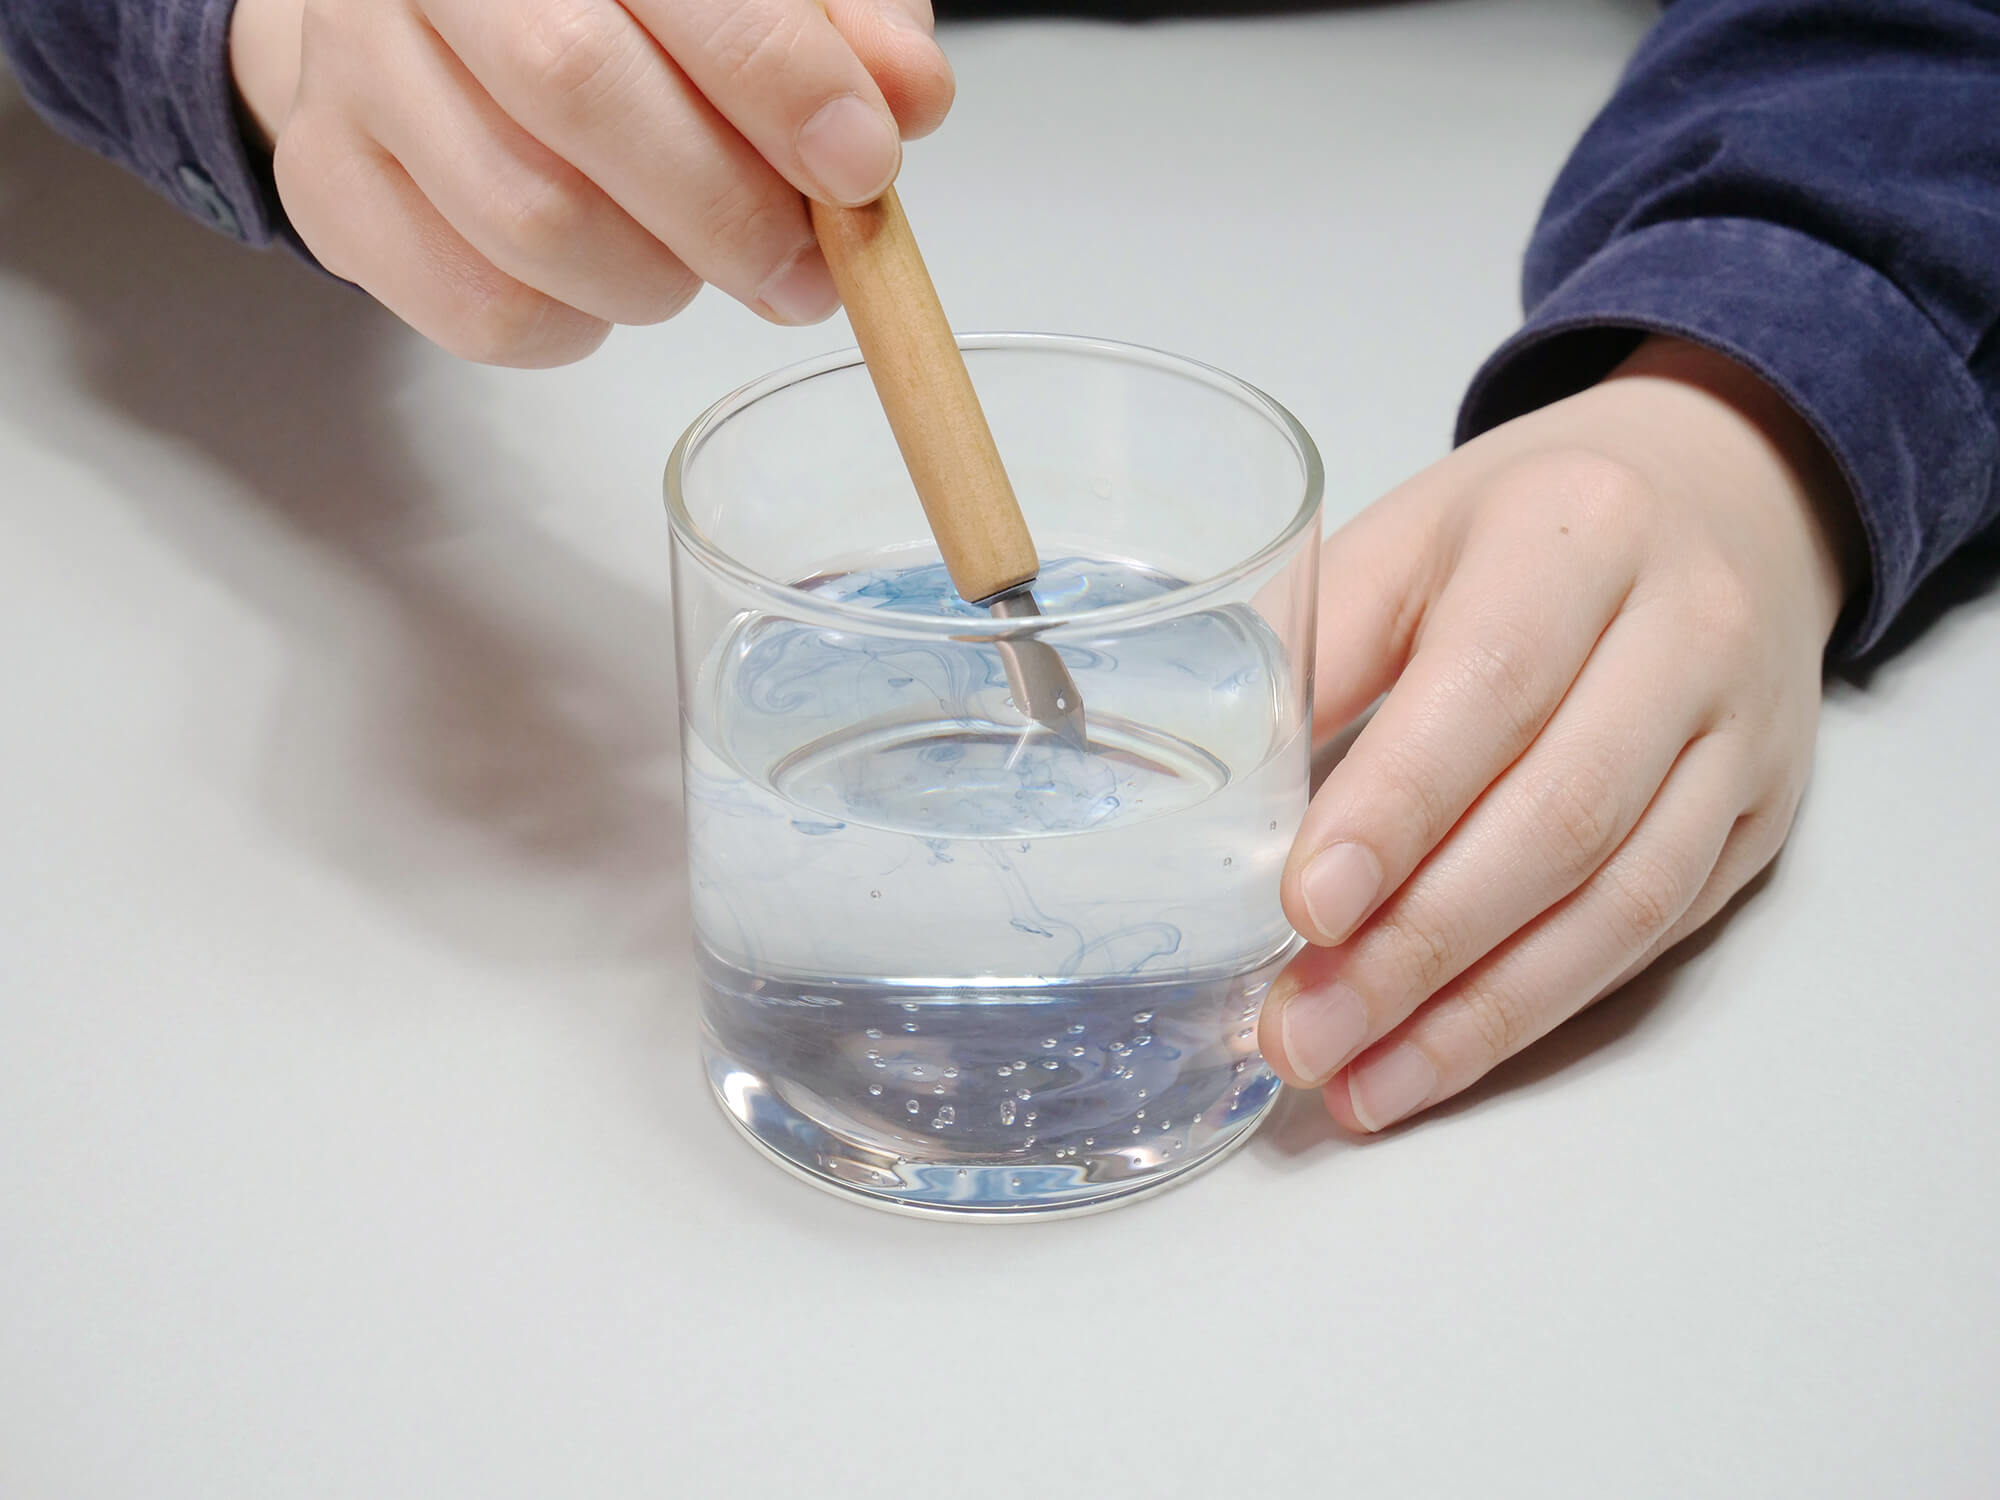
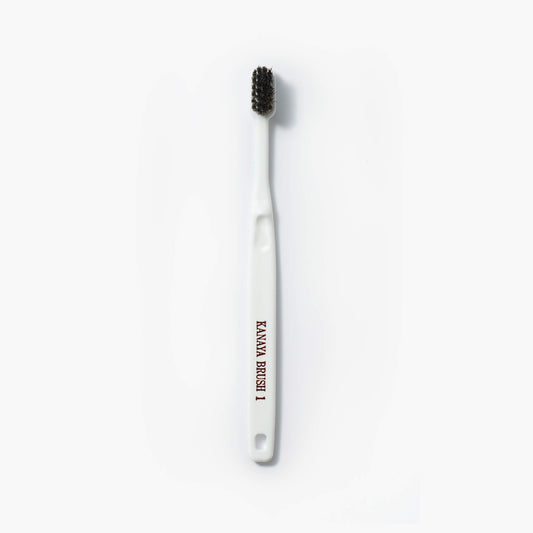
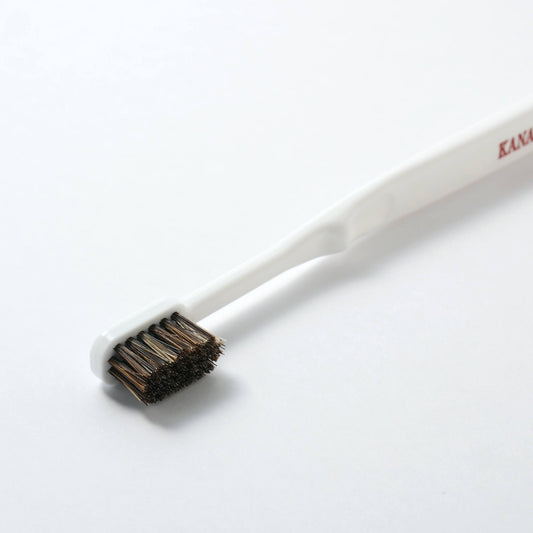
Use a toothbrush to remove stubborn ink in the grooves. If using detergent, a pH neutral detergent is recommended — avoid alkaline detergents as they will damage the nib surface.

Step 5: Remove
Hold the nib and slowly pull out of the nib holder. Remove any water from the nib mount by pointing it downwards and blotting with a tissue.